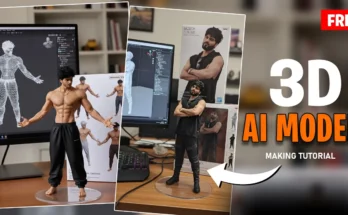
How to Create Trending AI Photos for Instagram (Step-by-Step Guide)
Alright guys, as you might have already noticed, AI-generated photos are taking over Instagram and are trending everywhere right now. So before this trend fades away, let’s quickly learn how you can also create these amazing AI photos for yourself. The best part? It’s super easy and works for both girls and boys.
Why AI Photos Are So Popular?
AI photo trends have exploded because they allow anyone to transform simple headshots into professional, artistic, and realistic images in just a few seconds. Platforms like Instagram are full of these creations, and people are using them for profile pictures, reels, and posts to boost engagement.
Step 1: Install the App
First, open your Google Play Store (if you’re on Android) and search for Google GMA. You will see the option to install the app. Since I already have it installed, my screen shows an “Open” button, but for you, it will show “Install.” Just tap and install it.
Step 2: Log in to the App
Once installed, open the app. If it’s your first time, you’ll need to sign in with your email. It’s very simple—I’ve already done this, so I’m directly logged in.
Step 3: Generate AI Photos (For Girls)
- Tap the “+” icon in the app.
- Select a clear headshot photo from your gallery (make sure your face is clearly visible).
- Paste the AI prompt (which you’ll find in my video description or on my WhatsApp channel).
- Click “Send.”
- Wait a few seconds—your AI photo will be generated instantly!
The quality will be very good, and once you save it, it will become even sharper and more detailed.
Step 4: Generate AI Photos (For Boys)
Now let’s do the same for boys:
- Again, tap the “+” icon and go to your gallery.
- Select a boy’s headshot photo and click “Done.”
- Paste the separate prompt provided for boys (available in the video description or Telegram).
- Tap “Send” and wait a few seconds.
Your AI photo will be generated in the same way, with excellent quality. Once saved, the resolution will be even higher, so there’s no issue with clarity.
Step 5: Save and Share on Instagram
After the photo is generated, simply tap on it and click the “Save” button. The image will be stored in your gallery. Now you can upload it directly to Instagram, share it in reels, or even use it as your profile picture.
Don’t forget to tag me when you upload your AI photos so I can also check out your amazing creations!
Final Words
This is how easily you can generate AI photos using Google GMA. Whether you’re a boy or girl, you can follow the same simple steps. The AI trend is hot right now, so make sure you take advantage of it before it’s gone!
For more AI tools and tutorials, check out:
So, guys, like this tutorial if it helped you, and stay tuned for more exciting guides. Until next time—Jai Hind, Vande Mataram!