How to Create Cinematic VFX Videos on Your Phone (Complete Step-by-Step Guide)
Have you ever watched a short video on Instagram or TikTok with magical effects and thought, “I wish I could create something like that”? The good news is—you can! And you don’t need expensive cameras, a green screen, or advanced editing software like After Effects. In this guide, I’ll show you how to create cinematic VFX-style videos on your smartphone for free, using nothing more than the CapCut app and a simple online tool.
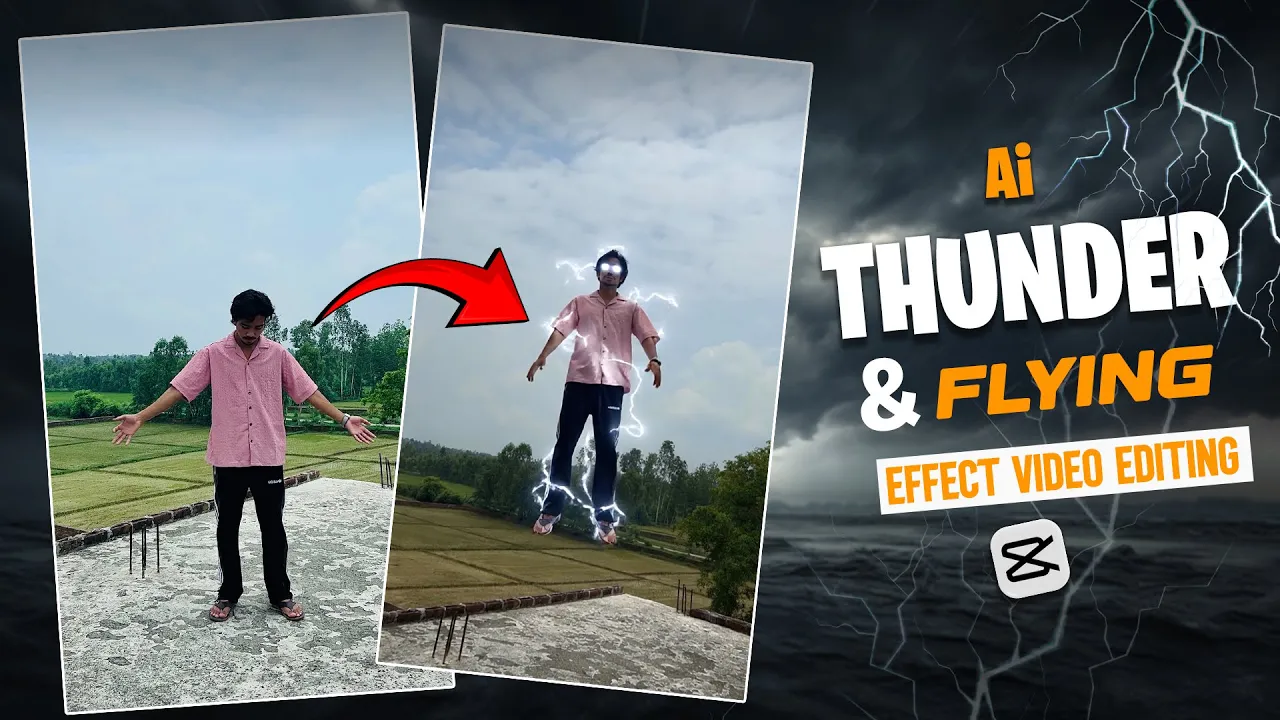
We’ll cover everything step by step, including taking the right screenshot, applying a “Thunder God Levitation” effect, and blending it seamlessly with your footage. By the end of this tutorial, you’ll have a video that looks like it was edited by a professional.
Why Use CapCut for VFX-Style Videos?
CapCut is one of the most popular mobile editing apps today. It’s free, user-friendly, and packed with transitions, overlays, filters, and effects. While many people use it for basic edits, few know that with some tricks, you can create mind-blowing VFX videos that rival professional software outputs.
Some reasons why CapCut is perfect for beginners:
- Free to use: You don’t need to spend money on premium software like Adobe Premiere Pro or After Effects.
- No high-end PC required: All editing can be done directly on your smartphone.
- Beginner-friendly: Intuitive drag-and-drop interface makes editing smooth and simple.
- Compatible with social media: CapCut exports in the right formats and resolutions for TikTok, Instagram Reels, and YouTube Shorts.
Step 1: Preparing Your Video
Start by opening the CapCut app and creating a new project. Import the raw video you want to edit. Once the video is loaded:
- Mute the original audio to avoid distractions during editing.
- Scroll to the last frame where you want the VFX effect to appear (for example, holding your hands out for an energy ball).
- Zoom to full screen and take a screenshot of the frame.
This screenshot will be used later when applying the visual effects.
Step 2: Editing the Screenshot
After taking the screenshot:
- Open your photo editor (most smartphones have built-in tools).
- Crop out any black borders from the top and bottom.
- Save the clean screenshot.
This image will serve as the base layer for your VFX effect.
Step 3: Using a Free VFX Website
Now comes the magic. Open your phone browser and search for the website shown in the tutorial. Click on the first result to access the online VFX platform.
⚠️ Important steps to follow:
- Sign up with a valid email address. Without signing up, the effects won’t work.
- Connect your phone to a VPN (such as NordVPN). The site requires VPN access to function properly.
Step 4: Applying the Thunder God Levitation Effect
Once logged in:
- Go to the Visual Effects section.
- Scroll down until you find Thunder God X Levitation.
- Select it and remove the default white costume overlay.
- Click Start Frame and upload the screenshot you saved earlier.
After uploading, click on Generate. This will process your screenshot and apply the levitation effect. Depending on your internet speed, this may take 5–10 minutes. Be patient!
Once the process is complete, preview the effect and download the video to your phone.
Step 5: Blending the Effect in CapCut
Now, reopen CapCut and import the downloaded effect video. Place it in your timeline at the same position where you originally paused your footage. To make the transition smooth:
- Click on Transitions.
- Select Superimpose to blend the effect seamlessly with your footage.
After this, the effect will look natural and cinematic.
Step 6: Color Grading and Music
To make your video stand out even more, add some color grading. CapCut has built-in filters that can give your video a cinematic look. Adjust the brightness, contrast, and saturation until it matches the mood you want.
Next, add background music. You can use free resources like:
- Pixabay Music – copyright-free tracks.
- Epidemic Sound – professional tracks for creators.
- YouTube Audio Library – free music for creators.
Match the music with the intensity of your visual effect. For example, a thunder-like sound works perfectly with the “Thunder God Levitation” effect.
Step 7: Export and Share
Once you’re happy with the results, export your video in high resolution. Most creators prefer 1080p or 4K for better quality on social media platforms.
Now, share your video on Instagram Reels, TikTok, or YouTube Shorts. Since these platforms love unique effects, your video has a high chance of going viral!
Tips for Creating Viral VFX Videos
If you want your videos to gain traction online, here are a few pro tips:
- Keep videos short: 10–20 seconds is the sweet spot for TikTok and Reels.
- Hook your audience: Start with a strong action or pose in the first 3 seconds.
- Use trending sounds: Sync your effects with viral audio from TikTok.
- Experiment with angles: Shoot from different perspectives for a cinematic feel.
- Post consistently: Regular uploads improve your chances of being featured on algorithm feeds.
Why VFX-Style Content is Trending
Short-form content platforms like TikTok, Instagram Reels, and YouTube Shorts thrive on creative visuals. Adding VFX effects to your videos not only grabs attention but also sets you apart from millions of other creators. With the rise of professional VFX tools, viewers expect cinematic quality—but the trick is you can achieve it with free apps like CapCut.
Conclusion
Creating cinematic VFX videos doesn’t require years of training or expensive software. With just your smartphone, the CapCut app, and a free online effects tool, you can produce videos that look professional and engaging. Whether you want to boost your social media following, create fun edits, or simply explore your creativity, this method works perfectly for beginners and advanced users alike.
So, what are you waiting for? Grab your phone, follow the steps, and start creating your very own VFX masterpiece today!
Useful Links
If you found this tutorial helpful, make sure to share it with your friends and subscribe to our blog for more editing tips. Stay tuned for the next guide, where we’ll dive into even more creative effects for your videos.