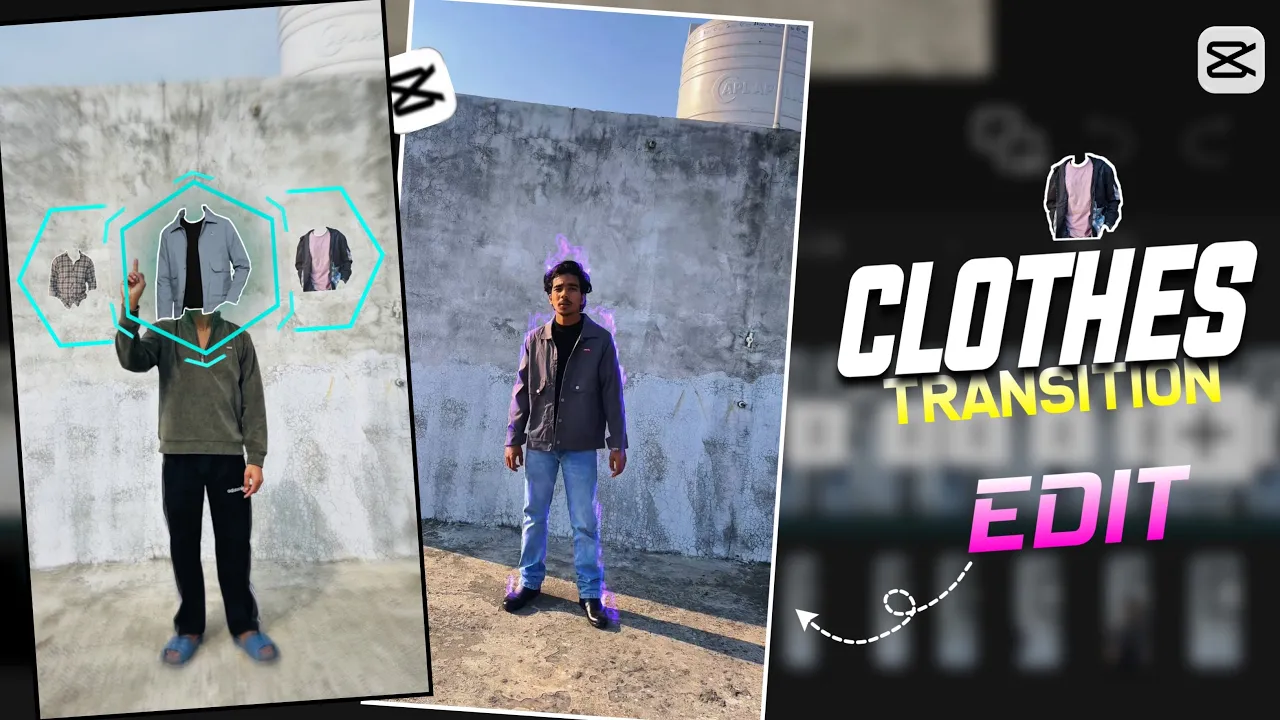
Step-by-Step CapCut Editing Tutorial with PNG Effects
Hello everyone! I hope you are all doing well. After a long time, I’m back again with a brand-new video editing tutorial. In this tutorial, I will show you how to create the exact transition effect you saw at the beginning of the video—easily from your phone.
This video is going to be really interesting, so make sure you watch until the end without skipping. And if you haven’t yet subscribed to my channel, please like this video and hit the subscribe button to support me.
Apps You Will Need
To edit this video, we need two apps:
Editing Steps in CapCut
- Open CapCut and start a new project. Import your main video clip.
- Mute the original audio of the clip.
- While recording your video, make sure you also record a blank background. This helps create smoother transitions.
- Trim all extra parts of the clip from the beginning and end so that only the main portion remains.
- At around 1.3 seconds, make a cut in your clip. Take this cut-out clip, overlay it, and drag it under the background layer. Remove its background.
- Now, add keyframes and go to the Mask option. Increase the feather effect and position it carefully to create a “reveal effect.”
Adding PNGs and Overlays
To make the transition more dynamic, we will add PNG overlays:
- Go to Add Overlay. A link to the clip/overlay is provided in the video description (download it from there).
- Apply filters, adjust them with hand movements, and use the Mirror option under Mask to rotate it 90 degrees if needed.
- Increase feather, zoom out, and add keyframes to align it perfectly with your hand gestures.
- Now, add the clothing PNGs (I will explain how I created them using PhotoRoom at the end).
- Set opacity to 0 at the start, then gradually reveal the PNGs with keyframes as your finger slides across the screen.
Finalizing the Effects
- Trim additional parts from all clips. Extract around 0.9 seconds each from 8 different clips.
- At 0.3 seconds in each clip, make a cut and place them below in overlays. Remove all backgrounds.
- Apply keyframes in every clip to slide them upwards or sideways for smooth transitions.
- Add special effects from CapCut’s Effects library. You can experiment with multiple options until you find what suits your video best.
- Finally, add audio. The music/audio link is available in the video description. Download it, extract the audio, and sync it with your video.
How to Create PNGs Using PhotoRoom
Now let’s talk about how I created the clothing PNGs used in this tutorial:
- Export your video and open the PhotoRoom App.
- Select the image you want to edit.
- The app will automatically remove the background.
- Use the Erase option to clean extra parts and finalize the PNG.
- Download the PNG and import it into CapCut for editing.
Conclusion
And that’s it! Your video with smooth PNG transitions and creative reveal effects is complete. In this tutorial, we covered how to:
- Trim and prepare video clips in CapCut.
- Use overlays and masking with keyframes.
- Create custom PNGs in PhotoRoom.
- Apply effects and sync audio for the final touch.
If you follow all the steps, you’ll be able to recreate the same editing effect. Try it out and let me know how it works for you. Don’t forget to subscribe for more tutorials. Happy Editing!