How to Create a Stunning Close-Up Reveal Effect for Your Product Videos
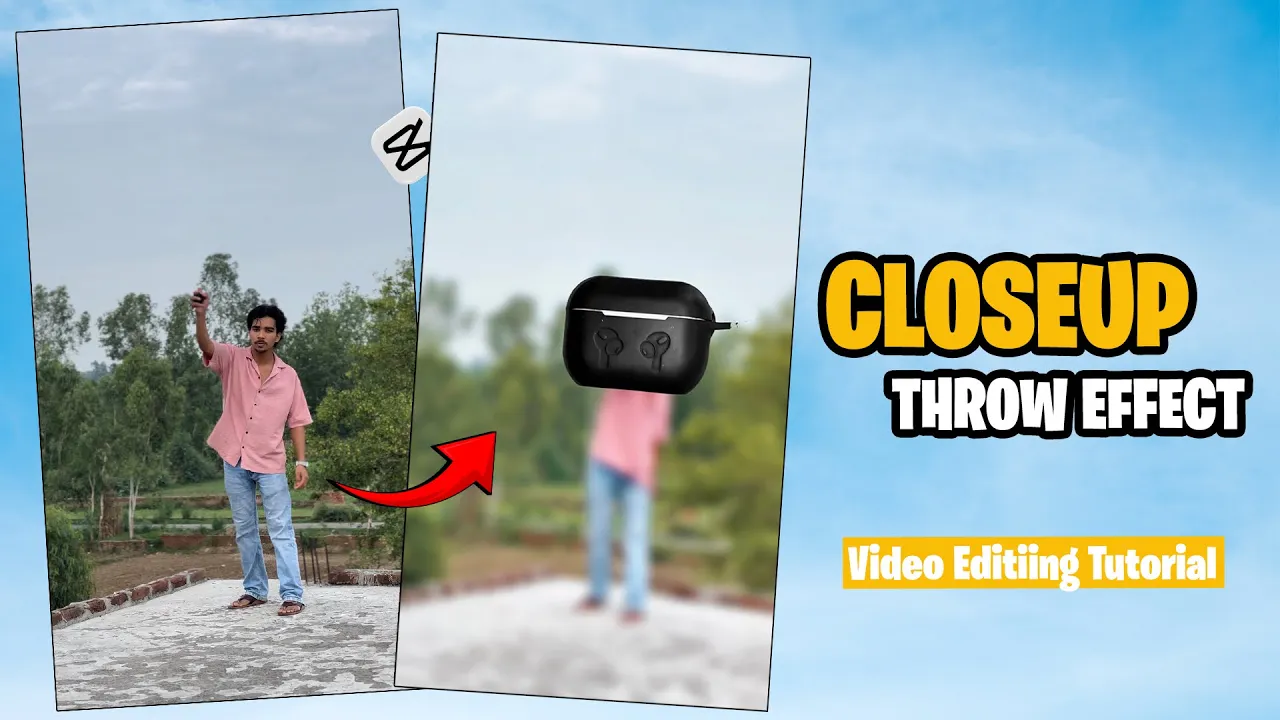
This effect is called the Close-Up Reveal Effect. If you also want to create a short, close-up video like this for your product, you can use this effect in your videos. It will make your video look very engaging, and you can reveal your product in a cool way.
The best part? This effect is very easy to create. You can make it very easily from your smartphone.
Watch the video until the end to understand exactly how it’s done.
Step 1: Shoot Your Clips
To make this kind of video, we first need to shoot two clips, just like the two you see on your screen.
You need to record your video in a similar way. After recording, we will edit it in the CapCut app.
Step 2: Edit in CapCut
-
Open the CapCut app.
-
Click on ‘New Project’ and add your video here.
-
After adding the video, we will mute the original music here.
-
Trim any extra parts you don’t need.
-
Zoom in on the clip, similar to this, and come to that point in your video.
Step 3: Add and Edit the Overlay Clip
-
Now, go to ‘Add Overlay’.
-
Add the second clip you recorded.
-
After adding this clip, first, we will crop it.
-
Then, we will remove its background. If you shoot with a green screen, you can remove it easily. If you shoot with another color, it might take a little more time.
-
Rotate it according to your video, like this.
Step 4: Keyframing the Animation
-
Guys, click on this clip again and go to the ‘Adjust’ tool. Here, we will set the saturation of this green color to zero.
-
Come to this position and zoom in on it, like this.
-
Then, add a keyframe here.
-
We will add one keyframe at the starting point of this clip.
-
We will keep zooming out and adjust it onto our hand, like this.
-
Move a little further ahead and add another keyframe here.
-
Add one more keyframe at the very end, right where we moved our hand down. Come to that point.
-
Zoom out and point it towards your hand, like this.
-
Trim the extra part of this clip from the end.
-
Now, let’s play it once to see how it looks.
Step 5: Adding Finishing Touches (Animation & Effects)
-
Click on the keyframes again.
-
Go to the ‘Animation’ options and add any one animation. Do it at the start and also at the end.
-
Now, go to the ‘Effects’ section.
-
Click on ‘Video Effects’, go to the ‘Lens’ options, and add this blur effect here.
-
Set it on this clip, similar to this.
-
Now, guys, we will also click on this effect layer.
-
Come to this position and add a keyframe here.
-
We will add one keyframe at the start and set the blur intensity to zero.
-
We will do the same at the end: add a keyframe here and set its quantity to zero.
Step 6: Adding Sound Effects
-
Now, we will add some sound effects. Go to ‘Audio’.
-
Go to the ‘Effects’ option and here you need to search for the sound. I’m showing it on your screen. You need to search for this word.
-
We will make a copy of this sound effect and place it at the end.
Step 7: Final Export
Guys, our video is now complete! Now, I will just do some basic adjustments, add some background music, and export it.
So, the video was very simple. If you still have any doubts, my Instagram handle link is in the description of this video. You can go there and message me.
And guys, I’ll see you in the next video. Take care!
Helpful Resources & Links
-
Download CapCut: Get CapCut on the App Store (iOS) | Get CapCut on Google Play (Android)
-
** Beginner’s Guide to Green Screens:** What is a Green Screen and How Does it Work?
-
Finding Royalty-Free Music: Where to Find Free Music for Your Videos
-
Video Marketing Tips: The Ultimate Guide to Video Marketing
Pro Tip: For the cleanest background removal, a green screen is highly recommended. You can use affordable portable options or even a solidly colored wall!